How To Fix A Leaking Roof (Step-By-Step Guide)
.svg)
.svg)
.svg)
Did you recently look up at your ceiling and spot a roof leak? Don't worry, you're not alone, and there's a way to fix it.
In this step-by-step guide, we'll provide you with the exact steps to fix your leaking roof.

1. Diagnose Your Roof Leak
Before you can start fixing your roof leak, it’s important to identify the source of the leak so you don’t waste your time and money. Further, you want simply do a walk-around from the outside and inside of your home to spot signs of damage/leaks.
Check For Damage Outside:
Usually, if there’s a recent storm, you can first do a simple walk around your home’s exterior to see if there are any obvious signs of roof damage, like missing shingles or other roof damage.
Look at areas like your roof valleys, roof ridge, roof vents, flashing around chimneys, underneath gutters, and dormer windows, as these are common areas where leaks can occur.
Check For Leaks Inside:
Do a walk around inside your house to spot any signs of leaks such as stains or cracks on your ceiling, water dripping from anywhere or wet areas around your fireplace.
Get A Helper (Spotter):
Because finding the exact source of the leak can be tricky, it’s best to get a friend or family member to act as a spotter inside the house. Communication will be necessary, so use your cell phones to communicate. Here’s the process:
- Pinpoint the General Area: Your spotter should stay inside, positioned where the leak was previously visible.
- Isolate with the Hose: While standing safely on the roof, use your garden hose to simulate rainfall. Start by spraying the area above the suspected leak. If your spotter can’t find the leak inside, proceed to step three, and if the leak is spotted, skip to step four.
- Left & Right Isolation: Direct the water flow to the left side of the suspected leak source for a few minutes. Have your spotter watch for any sign of water intrusion. Repeat the process on the right side.
- Leak Spotted: When your spotter calls out that the leak is visible you can then mark the location for easier reference during the roof repair process.
If you’re having trouble diagnosing the roof leak, you can always get in touch with a roofer to get a free inspection done before conducting any roof repairs.
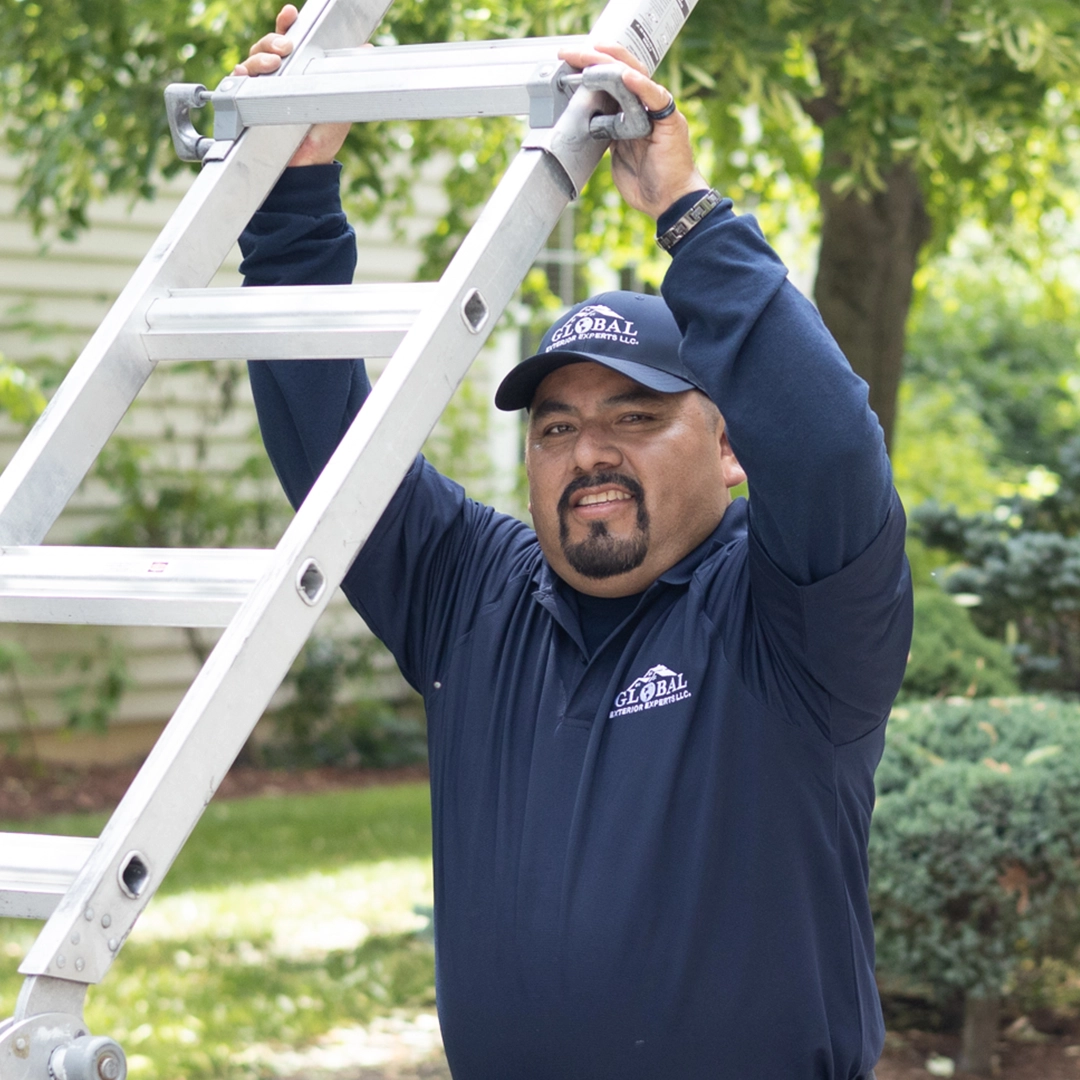
Warning: Don’t forget to wear proper safety before getting on your roof. This includes fall protection gear, roofing boots, harnesses, and more. If the roof is badly damaged, we don’t recommend that you go on your roof; rather, you should call a reputable roofing company in your area to get your roof inspection for free.
2. Repair Process For Asphalt, Metal & Flat Roofing

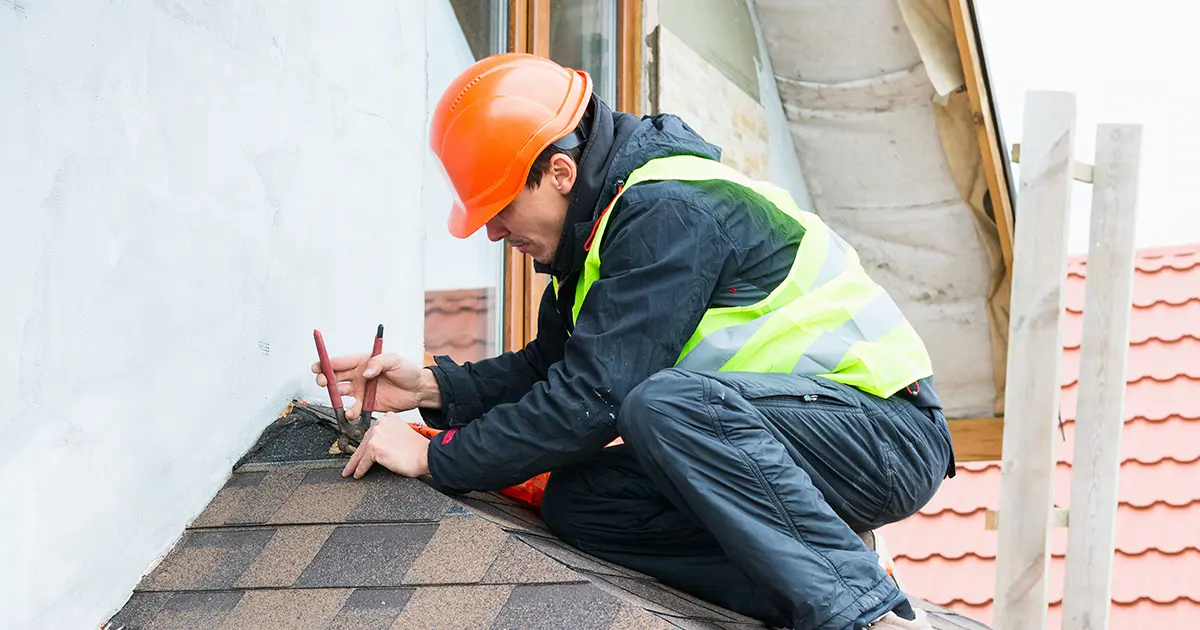
How To Repair Asphalt Shingles
There are two main ways to repair your asphalt shingles. The first is to use silicone caulk to patch the damaged area of your shingle, which is not recommended.
The second is to replace the entire damaged single or row of shingles for a more secure fix.
Replacing Asphalt Shingles
1. Remove Damaged Shingles:
- Gently use a pry bar to break the adhesive seal between the damaged shingle or row of shingles.
- As you lift the shingles, remove the roofing nails securing the damaged shingle(s). Make sure you don’t bend the surrounding shingles.
- Once all old nails are removed, slide out the damaged shingles or shingle row.
2. Inspect the Underlayment:
- Carefully inspect the exposed roof deck and underlayment for water damage, such as rot or warping. If you spot damage on the underlayment or roof deck, be sure to repair it before proceeding.
3. Install the New Shingles:
- Slide the new shingle or shingle row into place, ensuring perfect alignment with the existing rows. Make sure the top edge of your new roof shingle tucks underneath the row above.
4. Secure with Nails:
- Use roofing nails (approximately 2 inches long) to fasten the new shingle or shingle row with a hammer.
- Be sure to look up the installation instructions on where to fasten your nails on the shingles, as it may vary for each manufacturer.
5. Apply Sealant:
- Carefully apply roofing sealant above and below the new shingle(s), ensuring you cover the nail heads to protect against leaks.
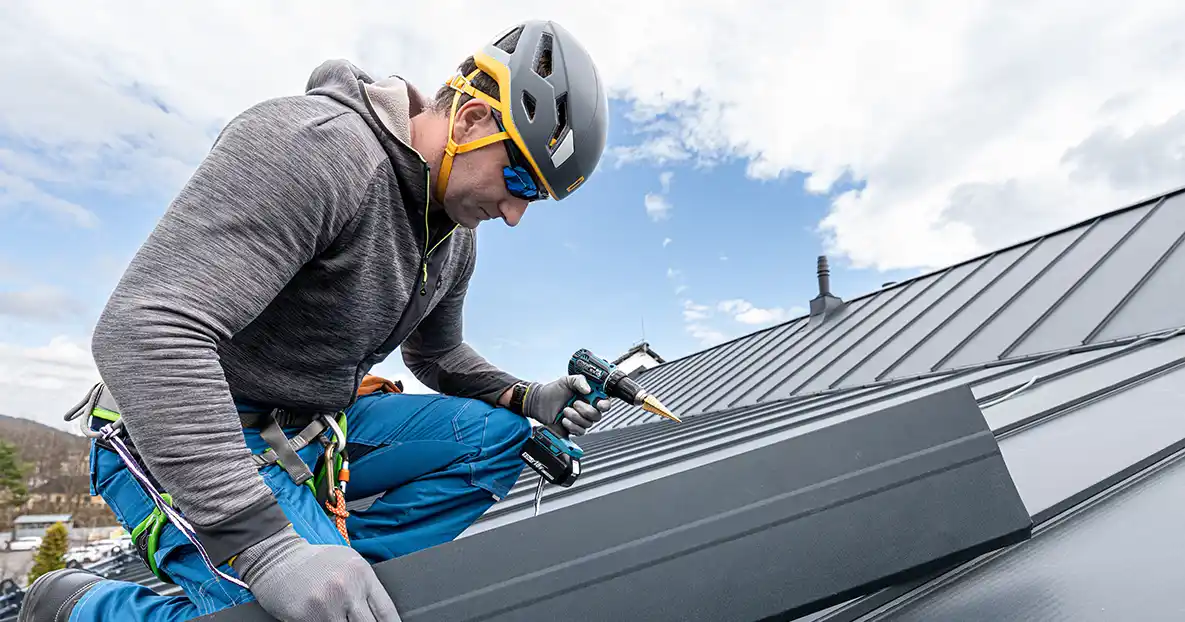
How To Repair A Metal Roof
Metal roofing repairs can vary in terms of whether or not you’ll be able to fix it on your own or if you’ll have to get in touch with a metal roofing contractor. However, many homeowners with decent handyman skills can tackle smaller leaks.
Here’s what you’ll need first to start a small metal roof leak repair:
Equipment:
- Electric drill (or cordless drill)
- Metal cutting shears (aviation snips)
- Putty knife
- Marking tool (a pencil or felt-tip marker will do)
- Cleaning supplies (mild household cleaner, rags)
- Roughing tool (wire brush or steel wool)
- Measuring tape
Materials:
- Metal-compatible sealant or caulking
- Self-tapping screws designed for metal
- Replacement metal panel (make sure it matches the type and finish of your roof)
1. Prep The Roof Leak Area:
- Once the leak is found, clean the area thoroughly with a mild cleaner and let it dry.
- Use a wire brush or steel wool to roughen up the surface around the leak. This will help ensure better sealant adhesion.
2. Cut the Patch:
- Measure and mark a patch on your replacement panel that will generously cover the leak.
- Use the metal shears to cut out the patch.
3. Apply Sealant:
- Apply a generous bead of sealant to the damaged area on the roof. Spread it evenly with the putty knife.
4. Attach the Patch:
- Carefully position the patch over the sealant so that it fully covers the leak.
- Use the self-tapping screws to secure the patch to your metal roof panel. Avoid driving the screws too deep, as you don't want to penetrate the roof deck and cause further damage.
5. Seal and Finish:
- Use a putty knife to smooth out the sealant around the patch edges, creating a watertight seal. Remove any excess.
- Let the sealant dry completely according to the manufacturer's instructions.
- You can also paint match the patch to your existing roof color, if you’d like.

How To Repair A Flat Roof
Flat roofs can be prone to leaks due to their low slope and exposure to standing water. The repair method for flat roofs will depend on the extent of damage and, of course, your budget.
Flat Roof Repair Options
Patching (DIY option): Best for small punctures, tears, or blisters.
- Materials: Roofing cement/sealant, fiberglass mesh (optional), utility knife, putty knife.
Coating: Applying a liquid coating over the entire roof creates a new waterproof barrier. Good for extending the lifespan of an older roof, showing minor wear.
- Materials: Roof coating (elastomeric, silicone, etc.), roller or brush, pressure washer (for cleaning).
Single-Ply Membrane: Installing a large sheet of rubber-like material (EPDM, TPO, PVC) over the existing roof. Provides excellent long-term protection.
- Materials: Membrane, adhesive, seam tape, flashing, professional installation often recommended.
Full Replacement: If the damage is severe or the roof is near the end of its lifespan, removing the old roof and installing a new flat roof is recommended.
Steps To Repair A Minor Flat Roof Repair (Patching)
What You’ll Need:
- Roofing cement or sealant (compatible with your roof type)
- Roofing membrane patch (if the leak is a bit larger)
- Fiberglass mesh (optional for extra reinforcement)
- Putty knife
- Utility knife
- Cleaning supplies (mild cleaner, rags)
- Seam roller (optional for membrane patches)
1. Prep The Area:
- Remove any debris around the leak and clean the area thoroughly. Allow it to dry completely.
2. Apply Patch:
- Small Holes/Tears: Spread a generous amount of roofing cement over the damage using a putty knife.
3. Larger Leaks:
- Cut a piece of roofing membrane that is a few inches larger than the leak. Apply roofing adhesive as instructed, then place the patch over the leak, pressing firmly.
- Use a seam roller to ensure a strong bond with your flat roof.
4. Smooth and Seal:
- If you’re using a simple patch, smooth the excess cement around the edges of the repair to create a watertight seal.
5. Monitor:
- Check the repaired area after the next heavy rain to make sure the leak is fixed.
Conclusion
Roof leaks can be a headache, but with the right knowledge and tools, they're definitely fixable. Whether you tackle the roof leak repair yourself or hire a roofing contractor, following the steps in this guide will get your roof back in great shape. Remember, regular annual roof inspections are the best way to prevent leaky roof problems like this down the road.


